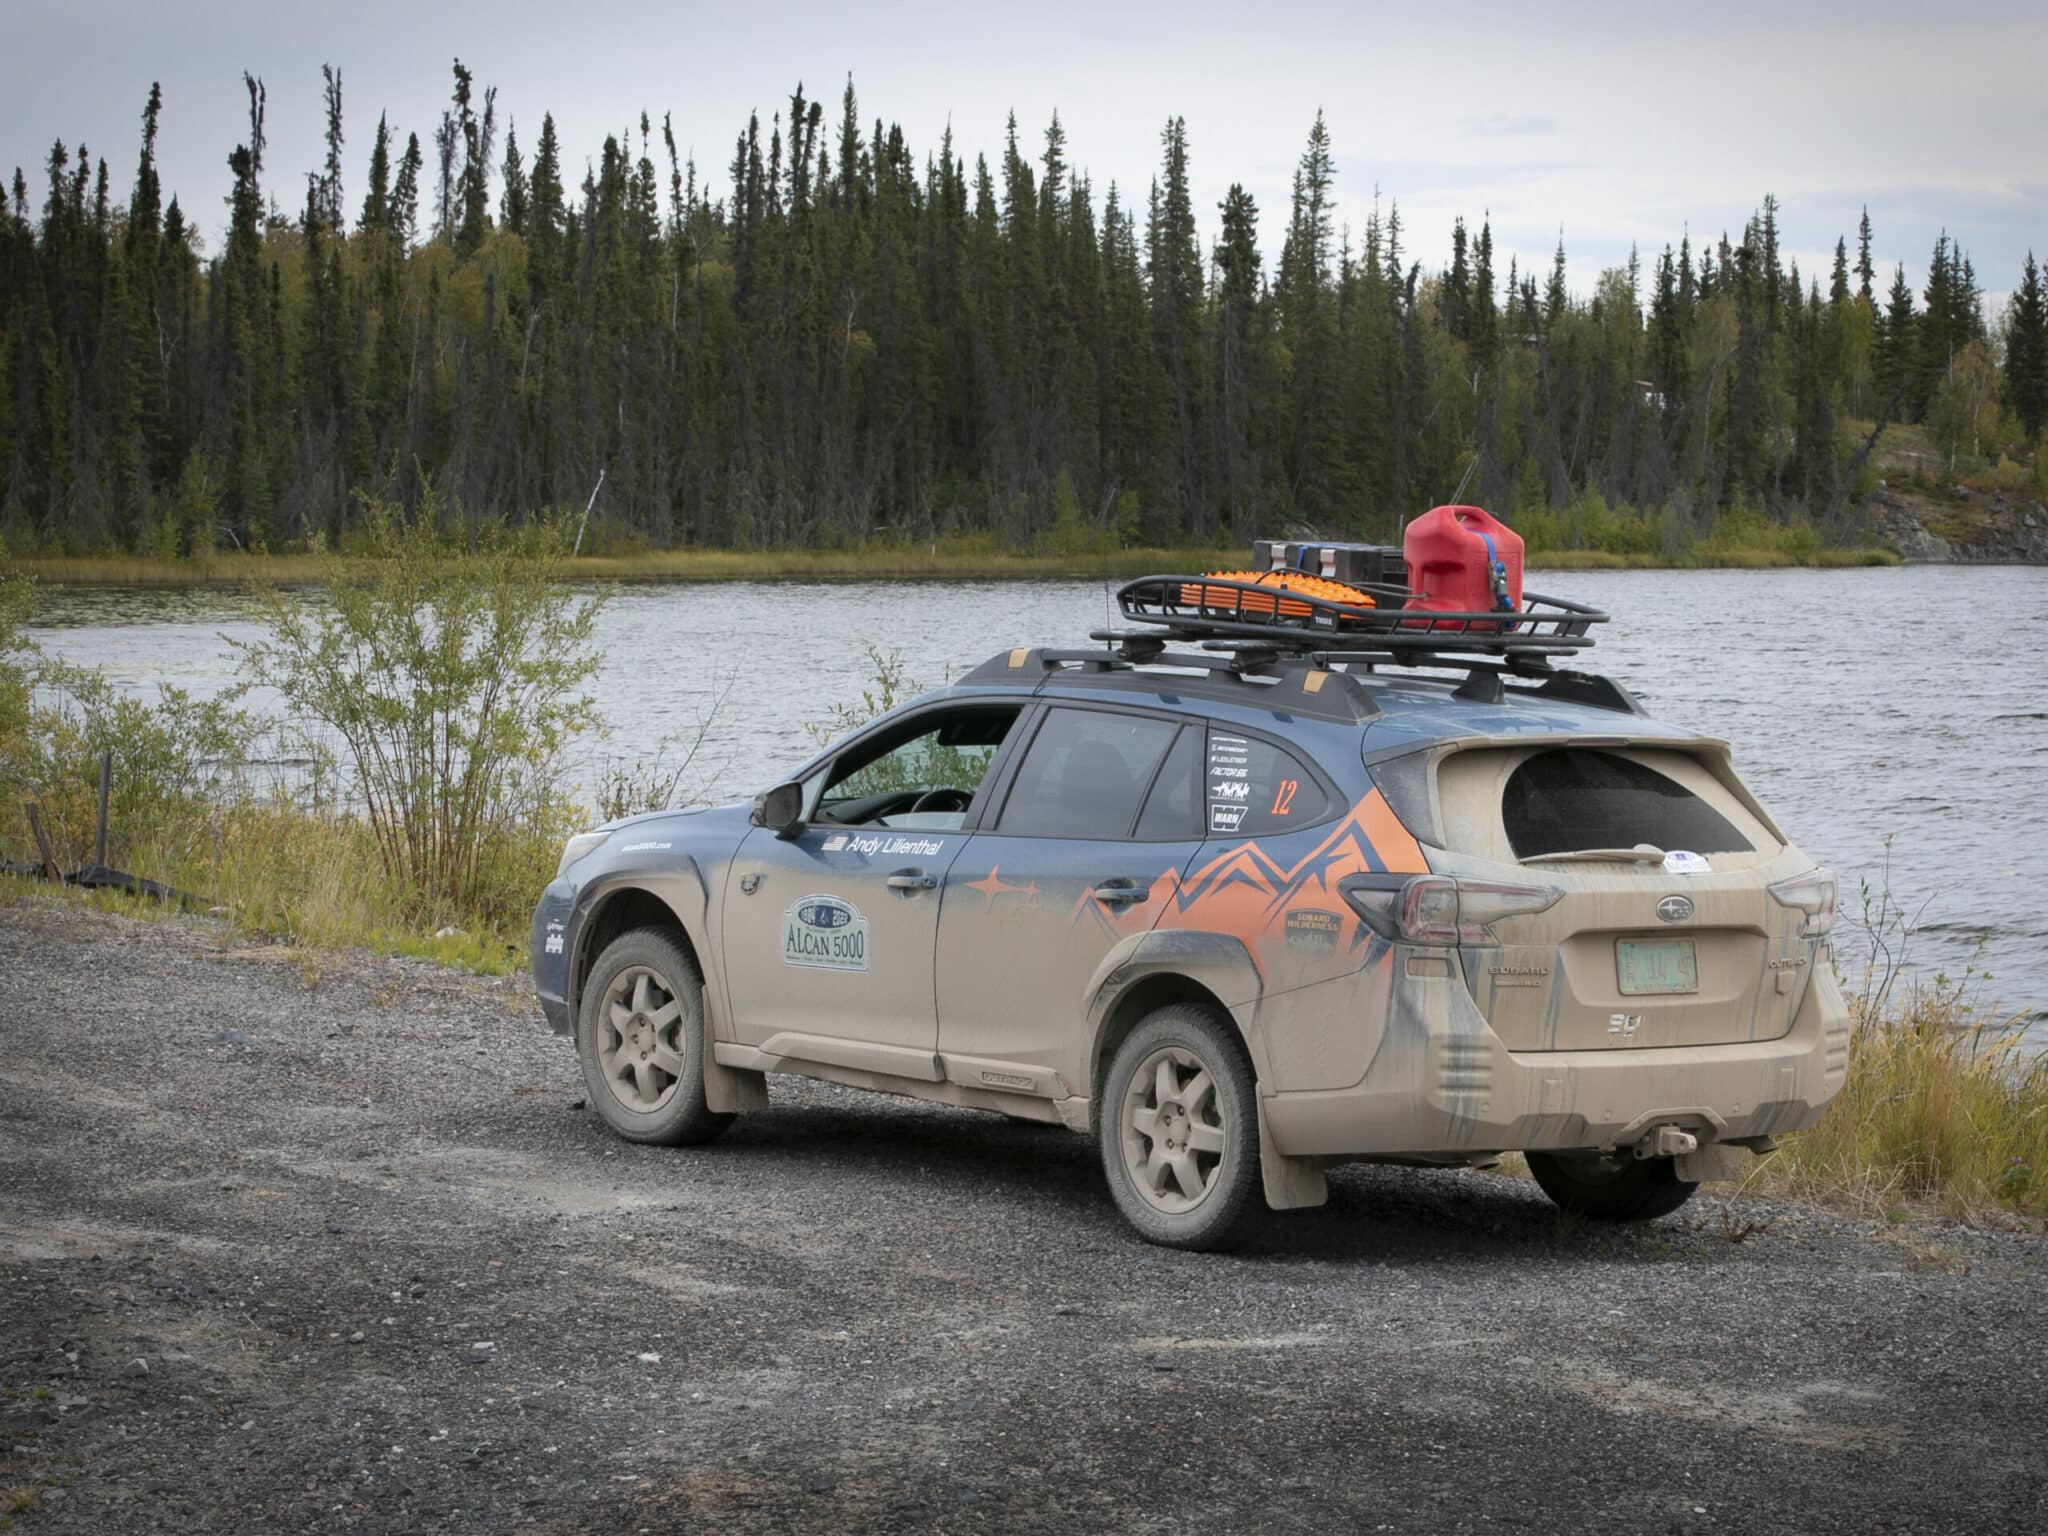
It doesn’t matter what type of adventure rig you have, being prepared when the going gets stuck is important—especially if you don’t have a vehicle winch. What happens when you get sucked into a snowbank or accidentally slide into misfortune when driving soft sand dunes? In addition to a stout shovel, carrying recovery boards in your 4×4 or AWD ride can help free you from the sidelines and get you back on track for vehicular exploration.
What are recovery boards?
If your truck or SUV doesn’t have a winch, recovery boards (otherwise known as traction devices) are an essential bit of kit. There are a variety of recovery board types sold on the market. Some are small and fold up into carrying cases. Others are a few feet in length and can be approximately 13 inches or so in width.
Recovery boards are typically made from high-quality nylon or aluminum and have an extremely grippy surface. They may have rows of protruding nubs on them or can have angled rows of protrusions that aid in traction. Both design types work well when it comes to recovering your vehicle in snow, sand, loose dirt and mud.

Pro Tip: Buy the best recovery boards or traction devices you can afford. Although cheaper in price, no-name or copy-cat units can potentially crack under pressure or pose other issues. Premium brands like MAXTRAX or ARB’s TRED series offer premium materials, proven designs and nest neatly for transport.
How do you use traction devices?
Recovery boards or traction devices are easy to use. These tips will help keep them in tip-top shape (and won’t melt their nubs if they’re made from nylon).
- Plan your drive-out recovery route. Tip: you can drive forwards or backwards from your fixed locale.
- Using your shovel, dig out your vehicle as best as you can, especially under the affected tires in the direction of your planned go route).
- Place each recovery board as flat as possible on the ground, teeth side up (either directly in front or behind your tires depending on the direction you’re going to go). Note: You can use two or four boards for a vehicle recovery, one board per tire.
- Kick each traction board into place until the protruding teeth touch the tire tread (kicking the boards into place allows them to partially “sit” under your tires, giving them the grip they need to start the recovery process).
- Slowly accelerate onto the boards and then out of your stuck position (do not spin your tires to gain traction as this can melt the recovery board’s teeth).
- Note: If your vehicle is still stuck, repeat steps two through six until you’re released or seek additional help to get unstuck.

Knowledge is important
Knowledge is power. Having the right vehicle recovery equipment with you is equally important, especially if you’re adventuring off the beaten path. Recovery boards are a simple and effective tool. They can help free your rig from stuck situations and back to what you love most—exploring the great outdoors as you originally intended.
Editor’s note: Photos on this page by Mercedes Lilienthal.


