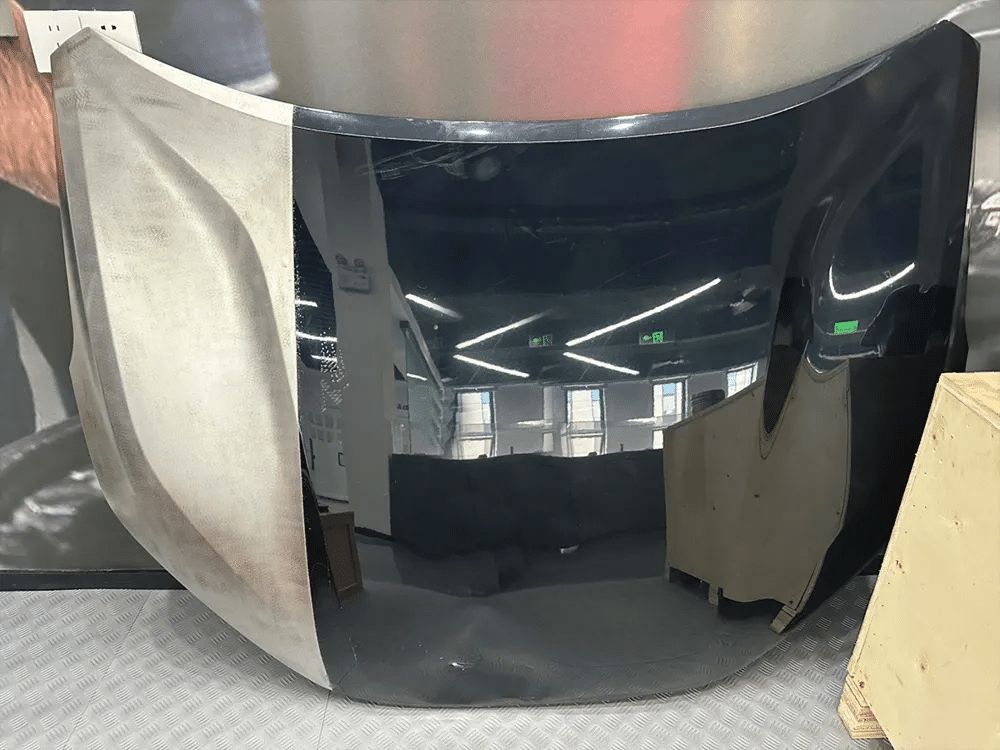
Paint stripping sounds simple until the part is thin. On truck beds and automotive sheet metal, the job is never just “remove the paint” — it is remove the paint and leave the steel or aluminum underneath intact, dimensionally and structurally. Precision paint stripping is the discipline of lifting the coating without thinning the base metal, rounding the edges, warping the panel, or trapping contaminant in the seams. That distinction matters more on a 1 mm truck-bed panel than on a half-inch plate, because on thin stock there is no slack between “clean” and “cleaned through.”
This article compares the four methods that actually get used on sheet metal and truck beds, anchors the laser figures to tested removal rates, and is honest about where each method breaks down. The point is not to crown a winner but to match the method to the part — because the wrong choice is what damages the substrate, not the paint.
Why truck beds and sheet metal are unforgiving
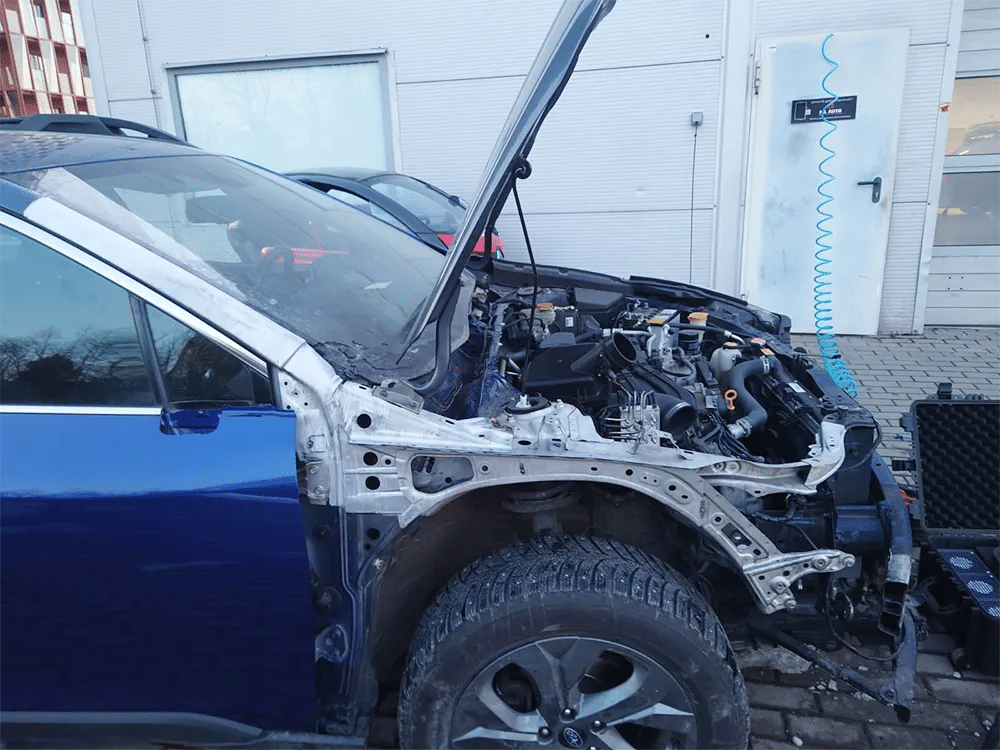
A truck bed or a body panel fails a poor stripping job in ways a thick component never would, and the reasons are worth naming before any method is chosen.
The first is gauge. Truck beds run roughly 0.8 to 1.2 mm, and many body panels are thinner still. A single over-aggressive pass that a fabricator would shrug off on structural steel removes metal you cannot spare — and on a bed, that means a soft spot that dents on the first load.
The second is form. Stamped contours, body lines, and lettering are the part’s identity. A method that rounds those edges changes the panel, not just its finish. Cosmetic sheet metal is judged on those lines, so “selective” matters as much as “effective.”
The third is what sits under the paint. Seam sealer, weld joints, and spot-welds trap media and chemical residue. Galvanizing and electrocoat sit between the steel and the paint; some methods strip that protection along with the color, and you then owe the part a full re-protection.
The fourth is the coating stack itself. A modern truck bed often carries primer, base, clear, and a sprayed bedliner — a thick polymer laminate, not a film. That stack is the hardest thing to remove cleanly, and it is where methods diverge most.
Preparing the part before precision paint stripping
Good stripping starts before the tool runs. Inspect the panel and map what must stay: body lines, bonded seams, any area already thin from corrosion or a prior repair. Mark keeper zones so the operator does not mistake a decal or a spot-weld for removable coating. On a truck bed that has carried fuel or chemicals, confirm it is drained and, where residue is plausible, certified gas-free before any thermal method — laser included — comes near it.
Access matters as much as the setting. Remove fixtures, badges, and bed liners that unclip, and open drain holes so fume and residue clear rather than pool. For media and chemical, plan the capture and rinse first; for laser Cleaning, fix the part so the head tracks a defined path instead of drifting by hand on a large flat bed. A part that is set up well strips faster and safer than a part attacked cold.
Method 1: Laser cleaning for precision paint stripping
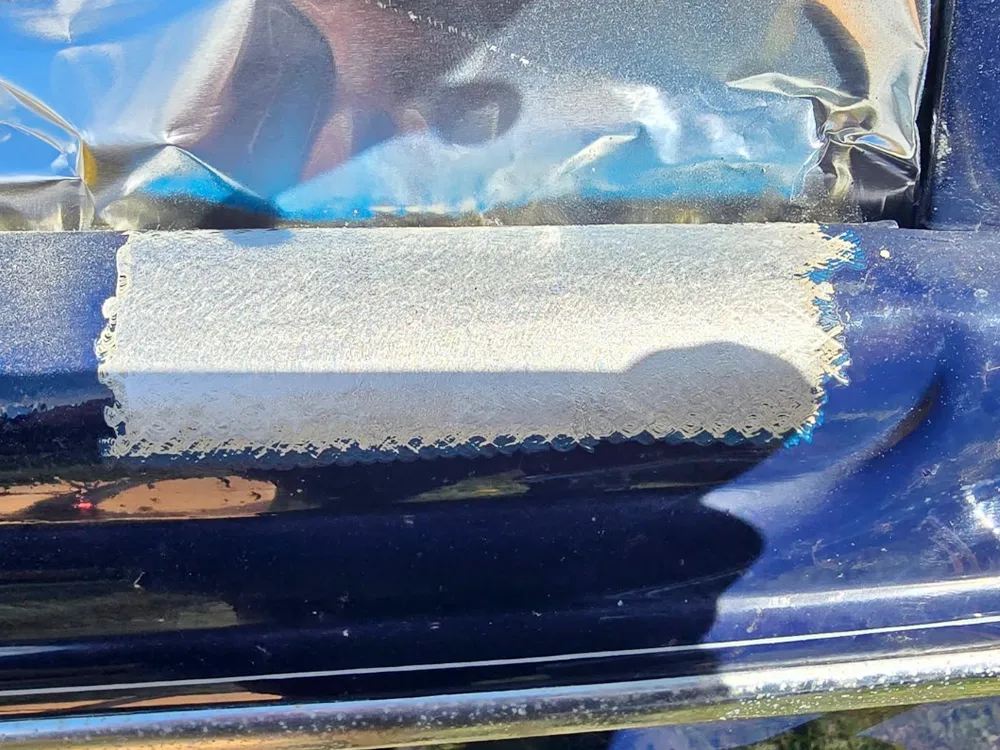
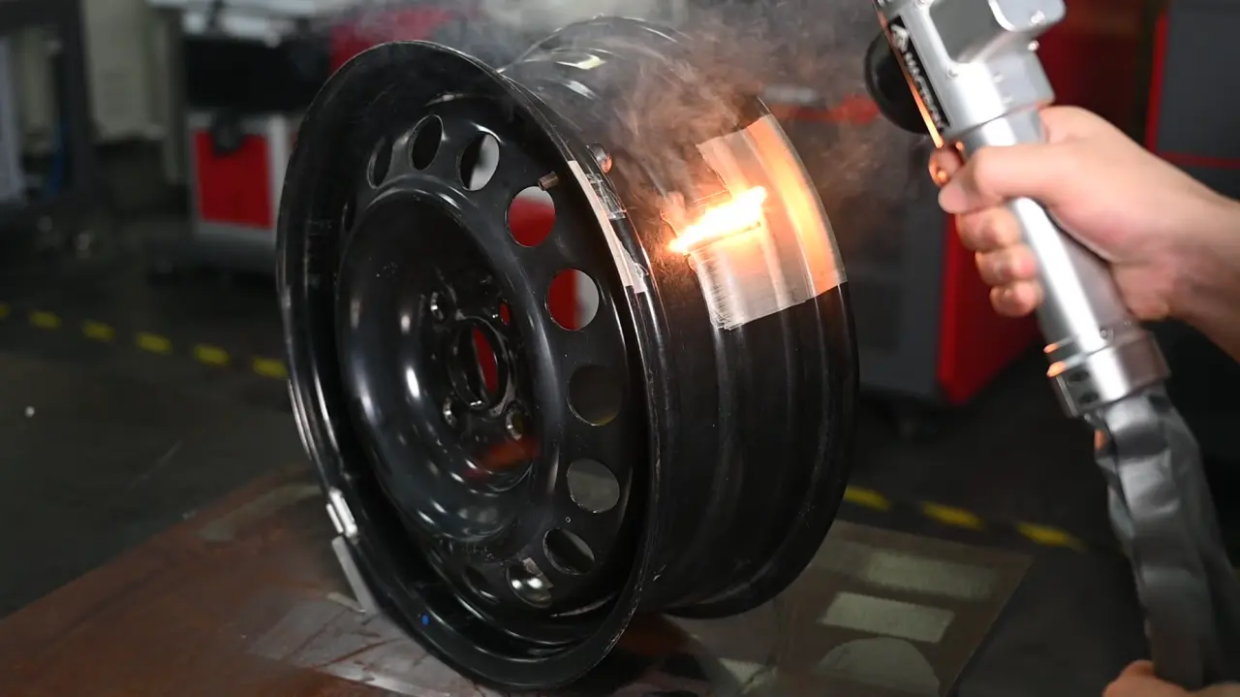
Pulsed fiber laser cleaning is the method built around selectivity. A MOPA pulsed source controls pulse width and frequency independently, and a short pulse keeps the heat local to the coating instead of conducting into the panel. The coating absorbs the energy and ablates; the base metal, if tuned gently, stays put.
The rates we trust come from tested steel-paint removal: roughly 16 m²/h through a 50 µm film and 4 m²/h through a 200 µm film at matched power. Most vehicle paint systems land between — a single-stage or base-plus-clear finish is often 40 to 120 µm, which puts realistic laser paint stripping in the high single digits to low teens of square meters per hour for a straightforward finish. A multi-layer bedliner stack is the slow end: thicker, more passes, and you must confirm the rust beneath is genuinely gone rather than hidden under a half-cleared film.
The proof that laser spares thin metal comes from our thin-sheet work: on a 0.36 mm anodized aluminum sheet, a long-pulse setting warped the part from bulk heating while a short-pulse setting left it flat. A truck-bed panel is roughly twice that in steel and a touch thinner in aluminum — the principle is identical. Short pulses protect the substrate; long pulses do not.
Pros: no abrasive media to embed in seams, no solvent to flush, selective enough to leave galvanize or E-coat if tuned, edge-safe, and automation-friendly for repetitive parts. Cons: higher capital cost than a blaster or a chemical bucket, slower on uniformly thick multilayer paint, and it requires a certified operator and a Class 4 enclosure per ANSI Z136.1 and ISO 11553-1. Reflective aluminum needs a short, well-controlled pulse rather than a power hike.
Method 2: Abrasive media blasting
Blasting — sand, garnet, glass bead, or soda — is fast on uniform, heavy paint and scale, and it is the default for thick rust on solid frames. On thin sheet metal and truck beds its strengths become liabilities.
The kinetic and frictional heat can warp a thin panel, especially a large flat bed with little stiffness. The media rounds body lines and lettering, which is exactly the change a restoration or quality repaint wants to avoid. It embeds grit in seams, weld joints, and the bed’s box sections, where it must be flushed or it blisters the new coating later. And it strips galvanize and E-coat along with the paint, so you owe the part a full re-protection pass.
Glass bead “peens” the surface, which can work-harden and distort thin stock; soda is gentler but still leaves a residue film and does not touch rust underneath. Blasting earns its place on heavy, sound steel where speed beats finesse — not on cosmetic sheet where finesse is the whole job.
Method 3: Chemical strippers
Solvent and gel strippers dissolve the film, and they reach cavities that media cannot. For an intricate part pulled off the vehicle, that access is the win. For a truck bed or a large panel, the math turns.
Modern two-pack and urethane finishes resist chemical attack and need long dwell, multiple applications, and thorough flushing. The solvent is a VOC and a skin- and respiratory hazard, and the rinse water is contaminated waste. Chemical strippers can attack galvanizing and aluminum if left too long, and residue trapped in seams and spot-welds must be fully flushed or it poisons the new coating. They also swell and lift adhesives like bedliner and structural glue, which is sometimes the goal and sometimes a disaster.
Chemical stripping is a strong choice for delicate, off-vehicle parts; it is a poor choice for a bare truck bed where the volume of chemical, the rinse, and the disposal dwarf the paint itself.
Method 4: Thermal stripping
Heat guns, infrared, and open flame soften paint so it can be scraped. On thin sheet metal this is the highest-risk option. The heat warps panels faster than any other method, it releases toxic fumes from burning paint — especially old lead-based or isocyanate coatings — and it does nothing for the rust underneath. Open flame adds a fire hazard on a part that may carry fuel or grease residue.
Thermal methods have a place on thick, non-structural items, but for truck beds and body panels they trade a finish problem for a shape problem. They are the method most likely to damage the substrate while “saving” it.
Precision paint stripping: a method comparison
The honest way to choose is by the part, not by the tool you own.
| Factor | Laser | Media blasting | Chemical | Thermal |
| Thin-sheet safety | High (short pulse) | Low (warp, round edges) | Medium (etch risk) | Low (warp, fumes) |
| Speed on thick multilayer | Moderate | High | Low | Low |
| Seam/media residue | None | High (embedded) | Medium (must flush) | None |
| Galvanize / E-coat kept | Yes, if tuned | No (stripped) | Risk if overdwell | No |
| Edge and contour preservation | High | Low | High | Medium |
| Solvent / VOC waste | None | Dust only | High | Fumes |
| Best fit | Sheet metal, beds, cosmetic parts | Solid heavy steel, frames | Delicate off-vehicle parts | Thick non-structural only |
No column wins outright. Laser leads on thin stock and finish preservation; blasting leads on speed for heavy steel; chemical leads on inaccessible cavities off-vehicle. The substrate decides.
Truck bed specifics: bedliner, rust, and drain holes
The truck bed is the article’s namesake for a reason. A bed carries the full coating stack plus a sprayed bedliner, and underneath that liner sits the part you actually care about: sound steel, or rust. Bedliner is thick polymer, so every method slows on it; laser treats it as polymer with more passes and a slower scan, blasting chews it but rounds edges, chemical swells it over long dwell.
The trap is rust under the liner. A bedliner hides pitting and trapped moisture, and stripping the liner reveals what the steel became while covered. That is useful truth, not a method failure — but it means the prep job is often bigger than the paint job, and a pinholed bed is a weld-or-replace decision the stripper surfaces, not causes. Drain holes and seams are where residue pools, so verify them after, not before.
Sheet metal specifics: a repaint-ready profile
Body panels and fenders are the other half, and here the goal is usually a repaint-ready surface, not bare metal for show. Precision matters because the new coating’s adhesion depends on the profile the strip leaves: clean, uniform, and free of embedded media or chemical film. Laser gives that profile without rounding edges or trapping grit; blasting can leave a peened, media-filled surface that needs extra prep; chemical can leave a residue film that blocks adhesion if not flushed hard.
The honest limit is contour. A deeply stamped panel with lettering is where blasting and thermal lose — they change the shape — and where selective methods win. Match the method to the panel’s value, because on cosmetic sheet the lines are the part.
Laser parameters for precision paint stripping
When laser is the right call, the setting follows the coating, not the steel. Paint absorbs the beam on the film first, so the setting runs a touch warmer and the scan a touch slower than for light rust — the goal is to clear the film without the pulse reaching the base.
A gentle negative spot mode keeps the beam off the substrate; the test patch confirms it. On our thin-sheet testing the single-point ablation depth ran about 3.5 µm at an aggressive -1 spot setting, about 1 µm at -5, and effectively none at -100 — so the gentle range is where a thin panel stays safe. Start there, prove it on a 50 to 100 mm patch away from seams and body lines, and only commit the whole part once the patch shows bare metal with no warp, no removed base, and no heat tint.
For a truck bed, the bedliner is the slow, careful zone: treat it as thick polymer, slower scan, more passes, and verify the steel and any rust beneath are actually exposed. A MOPA source with independently controlled pulse width and frequency is what makes that tuning possible rather than a guess.
The honest limits of precision paint stripping
Every method has a worst case, and on truck beds it is the full primer-base-clear-bedliner stack on a thin panel with seam sealer in the corners. Laser will clear it, but slower than the bare single-film rate suggests, and you must confirm the substrate underneath. Blasting will clear it faster but rounds the edges and fills the seams. Chemical will need repeated application and a serious rinse. Thermal should not be on the list.
Two more truths. First, laser will not replace grit blasting on uniformly heavy marine scale or a ship hull — that is blasting’s job, and forcing laser there is slow and expensive. Second, a sample test is mandatory on every part, because paint thickness, substrate gauge, and what was done to the panel previously all vary, and the setting that cleans one bed can mark the next. Precision is a process, not a power setting.
After precision paint stripping: verification and re-protection
Stripping is half the job; proving and protecting the surface is the other half. After clearing, inspect for bare, uniform metal with no coating film, no heat tint on steel, and no removed base. Profile-check thin areas and seams, because a thin spot that looked sound under paint may now read as a problem — and that is information, not damage.
Re-protection follows fast. If the method stripped galvanize or E-coat — blasting and thermal do — the steel needs re-zinc or primer before it sees air, or flash rust starts the same day. If laser or careful chemical kept the protection, a clean detail and the new coating are enough. Either way, the window between bare metal and new finish is where rust is won or lost, so the next step should be queued, not deferred.